
How to make scones
How to make scones
We got all the top tips from a professional baker
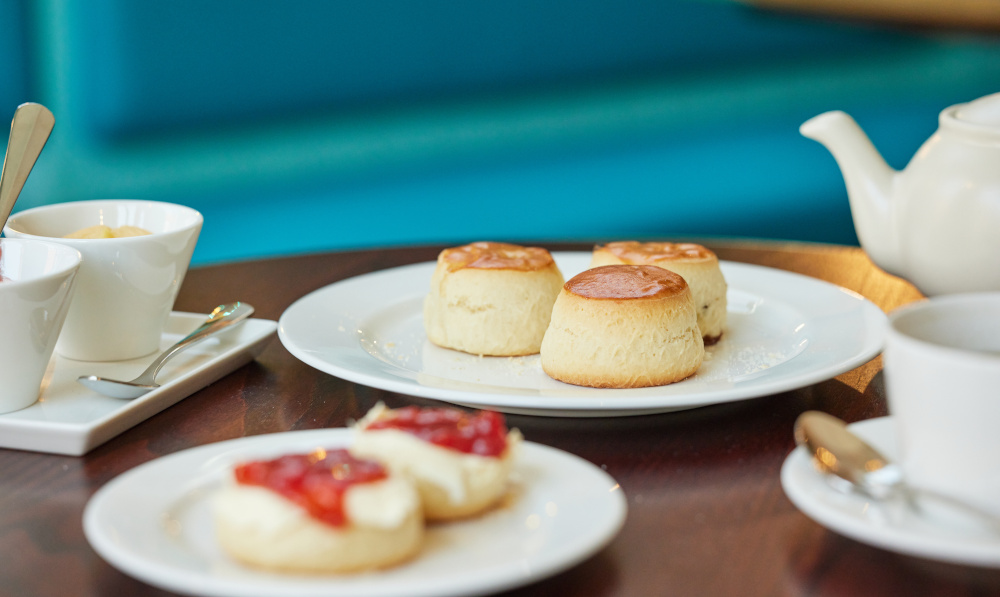
Pimped up with jam and clotted cream, the humble scone has become the much-loved staple of afternoon teas everywhere. But the baked treat is not without controversy – firstly, do you pronounce it scone (as in gone) or scone (as in cone)? Spread the jam or cream first? Cut your scone in half or prise it apart?
And that’s before we get down to the essentials of how to actually make them. I went to Bread Ahead in Chelsea and met with a professional baker to find out more.
Bread Ahead runs a series of masterclasses – its half-day scone course will take you through all the basics so you can rustle up a perfectly pleasing sweet scone and a savoury version with either cheese or fennel, and some jam.
Our teacher for the afternoon was the knowledgeable Ope, who has been baking professionally for nearly 30 years, and cooking since she was six. She was taught by her grandmother, who was a baker. Her mother was the first female organic farmer in Nigeria. Ope says that she remembers her first bakes – fairy cakes – where, like most kids, she would eat half the mixture from the bowl and bake half.
The set-up for the baking school is above the popular Bread Ahead café on chichi Pavilion Road, and adjoins their smart upstairs space, The Tea House, which they use for afternoon tea. The light, bright teaching kitchen is a model of calm – everything is laid out in trays for you: rolling pin, scales, mixing bowls, the essential ‘scraper’ – if you don’t have this tool at home, you need one in your life. It does everything, from helping to combine the dough if you don’t like getting your fingers in the mixture to cleaning the sticky bits off your work surface.
Ope is also a model of calm and she took us, good humouredly, through our paces. It was my favourite kind of class where you spend most of the time doing rather than watching. Ope showed us some essential techniques, then stepped in to help when our techniques needed improving or assist with remeasuring ingredients when something went awry.
The tips are brilliant. If you’re a newbie they are invaluable, if you’re a keen baker, it’s always good to get a reminder… they include:
- To rub the butter into the flour, use your fingertips and never the flats of your hand otherwise you will end up with butter that is too warm and it will make your scones greasy. Rub in from a height to get some air in for a lighter scone.
- Stop rubbing when you have a coarse not fine breadcrumb texture. You don’t want to overwork the mixture.
- Measure ingredients carefully and don’t use more baking powder than the recipe states as your scones may just collapse. Sieve the dry ingredients to incorporate air and combine properly.
- Don’t put too much flour on your work surface as you’ll end up with too much in your mix.
- Always stamp out your scone firmly with your cutter – don’t twist – and check your cutter has no residual dough inside before you cut. These tips will allow your scones to rise freely.
- Let your scones rest before baking – even a few minutes will make a difference.
My resulting scones were, even though I say so myself, awesome! Ok, so I had a helping hand but I now feel confident I could recreate them again at home. They smelled amazing too – wafting my Bread Ahead bag of freshly-baked goodies through Chelsea, a lady stopped to ask if I’d just done the course and wanted to know more. I can very much recommend it. It was not only instructive but also a lot of fun and a rather mindful way to spend the afternoon.
And if you’re wondering – there’s no right or way to say scone, much depends on where you are from. Cream or jam first? A recent AI experiment asked ChatGPT what it thought and it concluded that it is the ‘Devon’ method of cream first rather than the ‘Cornish’ way of jam first. But its sweeping statement sparked a fierce debate on social media. As for cutting your scone in half, well, the jury is out – but many etiquette experts say that you prise it apart and then add your toppings to each bite.
Read on for the recipe…
Half-day scone masterclass £120 per person.
Classic Scones
250g self raising flour
8g baking powder
3g salt
60g caster sugar
50g unsalted butter, cold & cubed
90g milk
1 medium egg (50g)
Egg wash / milk
Method
Preheat the oven to 185°C/ fan 165°C/ gas 4.
Line a baking tray with baking paper.
Sift together all the dry ingredients (flour, baking powder and salt).
Crumble the butter into the dry ingredients, using your fingertips rub the butter into the dry ingredients to make sandy consistency. Be careful not to overmix.
Add the sugar and quickly stir to combine, then make a well in the centre of the dry ingredients.
Whisk the milk and egg together in a small pot, then add the milk mix to the dry ingredients.
Mix quickly to form a dough, don’t over mix. Turn unto a worktop and knead lightly until all traces of traces have disappeared.
Be careful not to overknead.
Bring the dough together into a square, gently press it down to one inch thick. Using a round cutter (4 cm), cut the dough out into rounds.
Place the scones on the lined tray, then brush the topside of each scone with egg wash. Rest for two minutes before baking.
Bake for approximately 12- 15 minutes or until the scones have risen and are golden in colour.
Remove from the oven and allow them to cool before serving with plenty of clotted cream and your favourite jam.


