
DIY Paper Monkey Mask Plant
DIY Paper Monkey Mask Plant
The fuss-free and zero-maintenance indoor plant that won’t die, ever

Plants are one of life’s simple pleasures. Mastering the art of proper plant care however, not so much. There are the obvious factors – ‘Is my plant being watered too much (or too little)’, ‘How much light is the right light?’ and the not so obvious – ‘I have to dust the leaves when?’. One small slip and plants are prone to exposing us for what we truly are – serial plant killers.
That’s where DIY paper plants come in. A zero-mess and zero-fuss alternative to the real thing. Together with Wayfair, DIY enthusiast, Fall for DIY has created an easy-to-follow DIY paper monkey mask plant that even the most plant-repellent can’t kill.
Tools required:
- Monkey mask leaf outline
- Paper
- Green card
- Craft knife
- Scissors
- Scorer
- Florist wire
- Green masking / Washi tape
- Planters
- Foam / Polystyrene

Step-by-step guide to DIY Paper Monkey Mask Plant

Step 1 – The Template
Using two to three different sizes, print out your monkey mask leaf template. Once printed, cut around the edges of the template with scissors and use the craft knife to cut out the holes inside the leaf.

Step 2 – Creating the Leaves
Take your newly printed and cut out leaf templates and draw around them onto the green card. Try to fit as many leaves as possible onto each piece. Cut each one out and again, use your craft knife to remove the holes inside the leaves. Repeat until you’re left with around 30 leaves.

Step 3 – Scoring the Leaves
Now you have your green leaves, run the scoring tool along the centre of each leaf. For a more organic approach, avoid scoring straight lines. Fold the leaf in half along the scored line. Scissors are also great for scoring so don’t worry if you only have these at hand.

Step 4 – Curling the Leaves
Take the rounded side of the scorer and curl the underside of each leaf. To create a wave effect, hold the scorer horizontally across your leaf. Again, if you don’t have a scorer, then a pen will do the job just as well.

Step 5 – The Stem
Next, cut off a strip of tape and attach a piece of wire approx 20cm long on the underside of the leaf at the fold. Bend the wire approx 1cm down from the end of the leaf to create a natural looking stem.
Step 6 – Planting Your Paper Plant
Place your piece of foam or polystyrene into a plant pot then push the end of the stems in, bending them into position around the base of the pot. Try cutting some stems shorter than others and bending or wrapping them around each other to build the plant up.

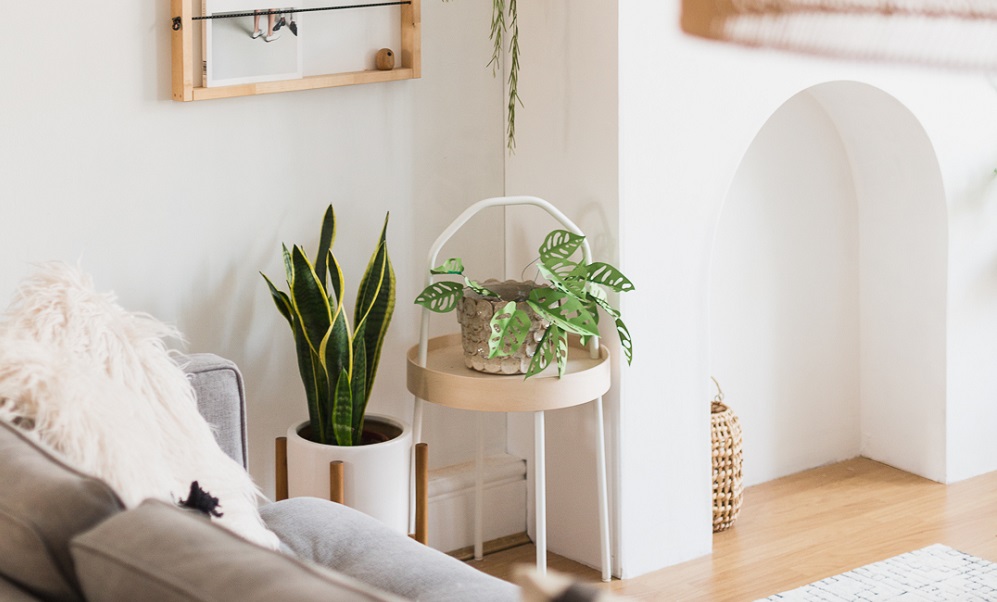
And there you have it, a DIY paper plant to be proud of. Perfect for pet owners and serial plant killers alike.
Photos: copyright Fall for DIY


